How to Use Red Hardware to Refresh a Bedroom on a Budget
You’re staring at your bedroom again, aren’t you? That same four walls, same tired dresser, same *blah* feeling every time you walk in. You want a refresh, but your wallet is begging for mercy.
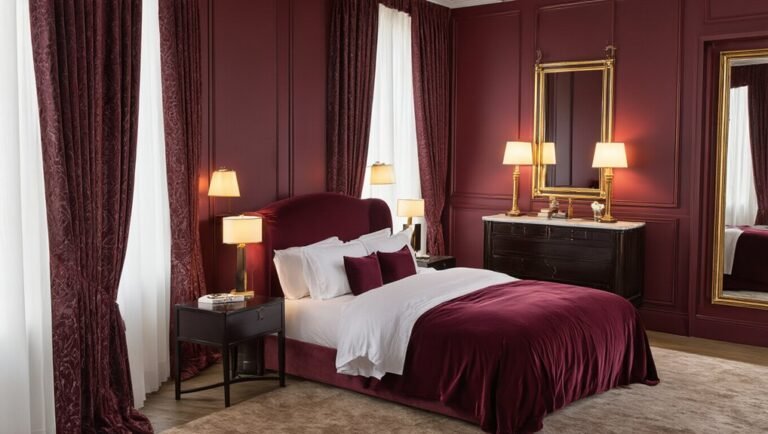
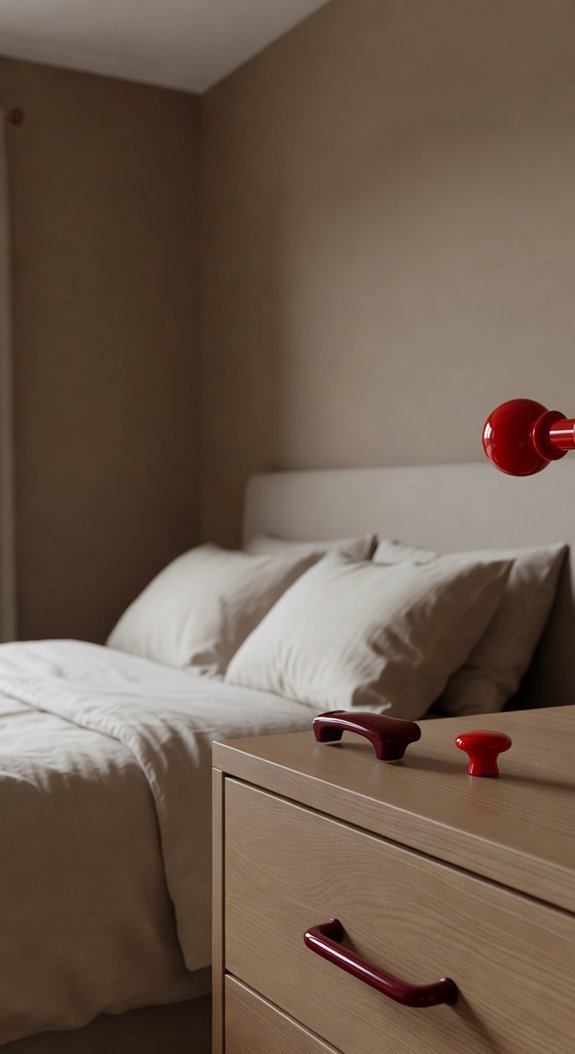
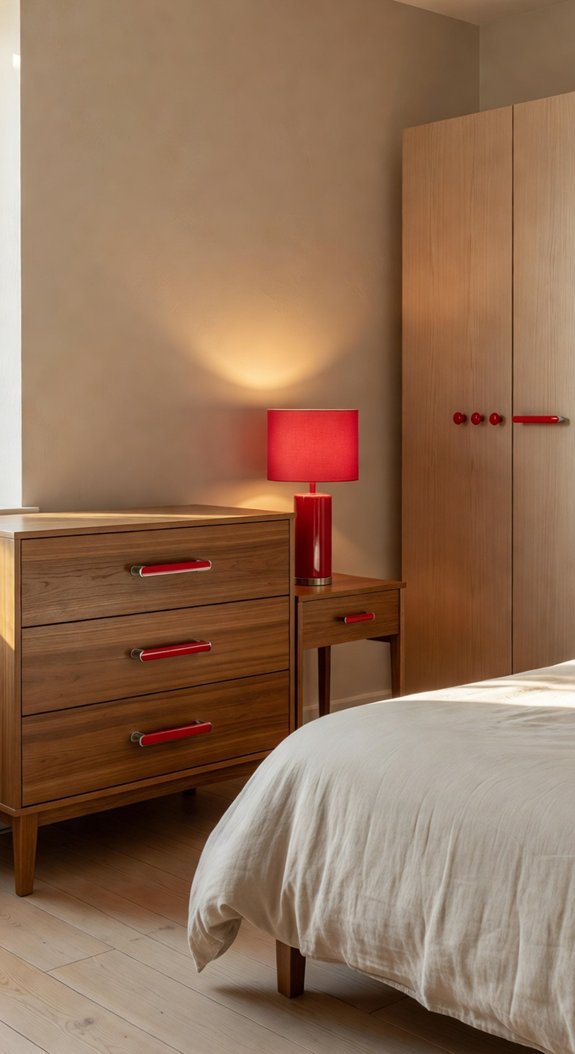
Here’s the secret nobody’s shouting about: red hardware. Yes, really. A few crimson knobs, a scarlet drawer pull, maybe a burgundy coat hook—and suddenly your space has personality without the price tag of a full renovation.
The best part? This isn’t a commitment you’ll regret in six months. Unlike that trendy paint color you saw on Instagram, quality hardware travels with you. Moving apartments? Unscrew, pack, reinstall. Your investment keeps paying off.
What you’ll take away today:
- Which red shades actually work with warm wood tones (hint: skip the fire-engine)
- Where to score vintage brass-and-red pieces for under $5
- The one placement trick that makes cheap hardware look custom
Ready to see which corners of your room are begging for a little crimson courage?
Pick Your Red: Burgundy, Crimson, or Fire Engine
Color psychology backs this up. Warm reds energize. Deeper reds ground. Knowing your goal beats chasing trends every time. The spectrum runs wider than most people realize, from barely-there blush tones all the way to full oxblood, each shade carrying its own visual weight and mood.
Your Quick-Start Guide:
- Test before you commit – Paint large boards, live with them for 48 hours in different light
- Source smart – Check Sherwin-Williams or Benjamin Moore remnants, Facebook Marketplace, and Habitat ReStore for budget-friendly finds
- Match red to room energy – Burgundy for intimate dining, fire engine for creative spaces, crimson for statement walls
- Anchor with neutrals – Let your red breathe against warm whites, natural wood, or soft grays
The practical win? A well-chosen red ages beautifully. No repainting in three years because you panicked at the paint counter.
Ready to find the shade that actually feels like home?
Prepare Surfaces for Red Hardware Installation
There’s nothing quite as disappointing as installing gorgeous matte red cabinet pulls, only to watch them fade into a dusty, chipped backdrop six months later. We’ve all been there—excited about a hardware refresh, then realizing the surface underneath wasn’t ready for its moment in the spotlight. The secret? A little prep work goes a long way toward making that crimson hardware the statement piece it deserves to be.
Think of your surface like a canvas. Clean it, prime it, smooth it—and your brushed brass or barn red hinges will thank you with years of flawless performance. Plus, you’ll avoid the heartbreak of peeling paint or wobbly screws when you’re rushing through morning coffee. Here’s exactly how to set the stage:
Clean Everything First ✨
Wipe down all surfaces. Dust and grime? Yeah no thanks.
Prime Like a Pro 💪
Use primer color underneath. It helps your red hardware pop harder and stick better. Trust me on this one!
Smooth Out Rough Spots 🔧
Sand lightly if needed. You want that chill aesthetic vibes working.
Now picture those scarlet knobs against crisp white cabinets, or deep burgundy latches warming up a neutral kitchen. Your hardware is about to steal the show. This same intentional approach applies beyond the kitchen—pairing bold red tones with oxblood walls and smart furniture can create a richly layered bedroom that feels curated rather than cramped.
Install Red Hardware Step by Step
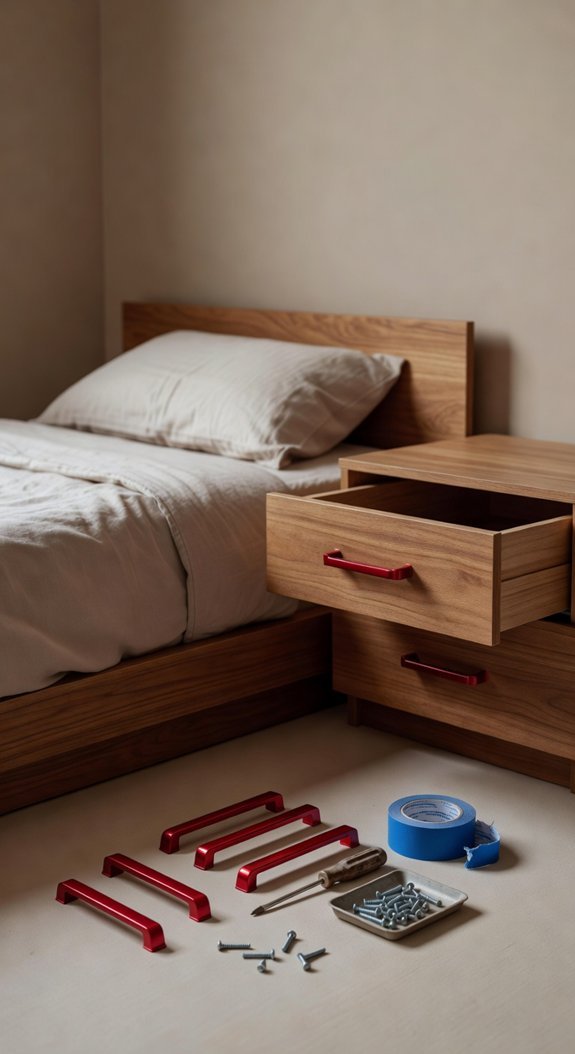
The gap between “bought it” and “actually installed it” trips up even the most motivated DIYers. Here’s the truth: badly mounted hardware looks cheap no matter what it cost. Crooked screws, mismatched finishes between cabinet door hinges and pulls, stripped holes you have to hide with putty—we’ve all been there.
The fix? A simple toolkit, a level you actually use, and the patience to step back and check your work. Taking an extra ten minutes now saves you from staring at lopsided handles for years. If you’re working in a traditional bedroom, pairing red hardware with plaid and floral patterns can create a cohesive, layered look that feels intentional rather than accidental.
Ready to make those beauties shine? Let’s get your kitchen (and your morning routine) looking intentional.
—
Clear Takeaways:
- Invest in a 4-foot level and quality drill bits—cheap tools cost more in mistakes
- Test color matching under natural light before committing; bronze and oil-rubbed bronze read very differently
- Pre-drill every hole to prevent splitting and stripping
- Tighten until firm, then stop—stripped screws in solid wood are a nightmare to fix
- Live with a test piece for 24 hours before installing the full set
Blend Red Hardware With Chrome, Brass, and Nickel
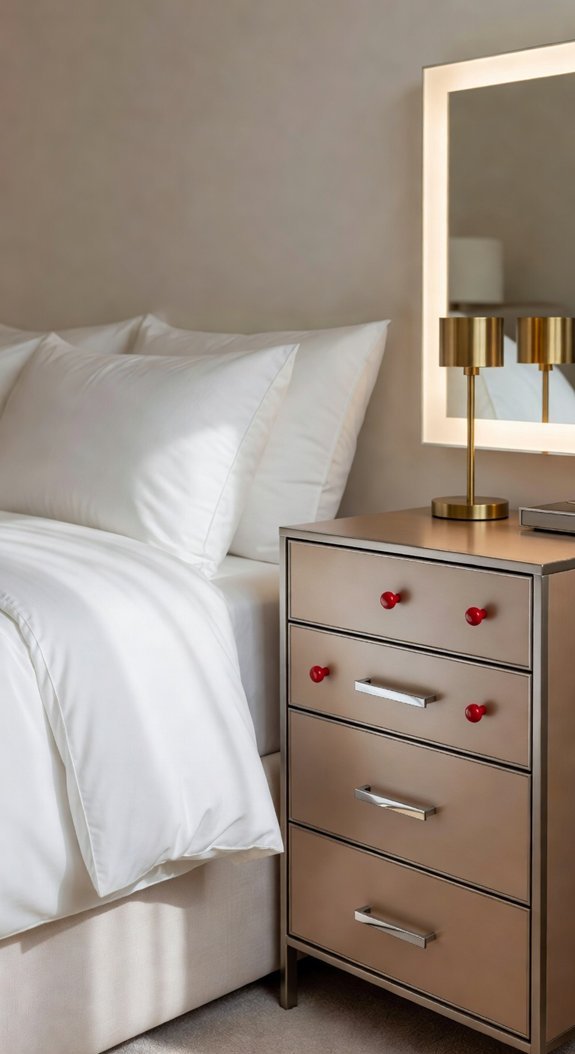
But here’s the secret designers don’t shout about: mixing metals isn’t a mistake. It’s the move.
Red hardware with chrome, brass, and nickel creates depth that matching sets simply can’t touch. The cool sleekness of chrome makes crimson tones pop. Brass brings that honeyed warmth every bedroom craves. Nickel bridges the gap without stealing the spotlight. Together, they turn “I bought what was on sale” into “this took months to curate.”
Red hardware with mixed metals creates the depth that matching sets simply can’t touch—it’s intentional design, not accidental.
Best part? This approach grows with you. Swap your duvet, add new art, repaint—your mixed-metal foundation still works. No more buying everything twice because one piece dictated the whole room. For best results, combine your metals in red, white, and black ratios that keep the palette bold without tipping into busy.
Ready to stop overthinking and start layering? Let’s break it down.
—
Your Take-Home Game Plan:
- Start with your red hardware as the anchor—let deeper tones like oxblood or wine red set the emotional mood, then build outward
- Pair with chrome for bathrooms and modern spaces—the high-shine finish cuts through red’s intensity for balance
- Bring brass into bedrooms and reading nooks—its golden warmth softens crimson’s boldness instantly
- Use nickel as your neutral diplomat—satin or brushed finishes connect warm and cool metals without competing
- Repeat each metal at least twice—two brass touches, two chrome moments—so nothing looks accidental
- Keep finishes consistent within each metal family—polished with polished, brushed with brushed—to maintain cohesion
Layer Red Hardware Into Bedding and Décor
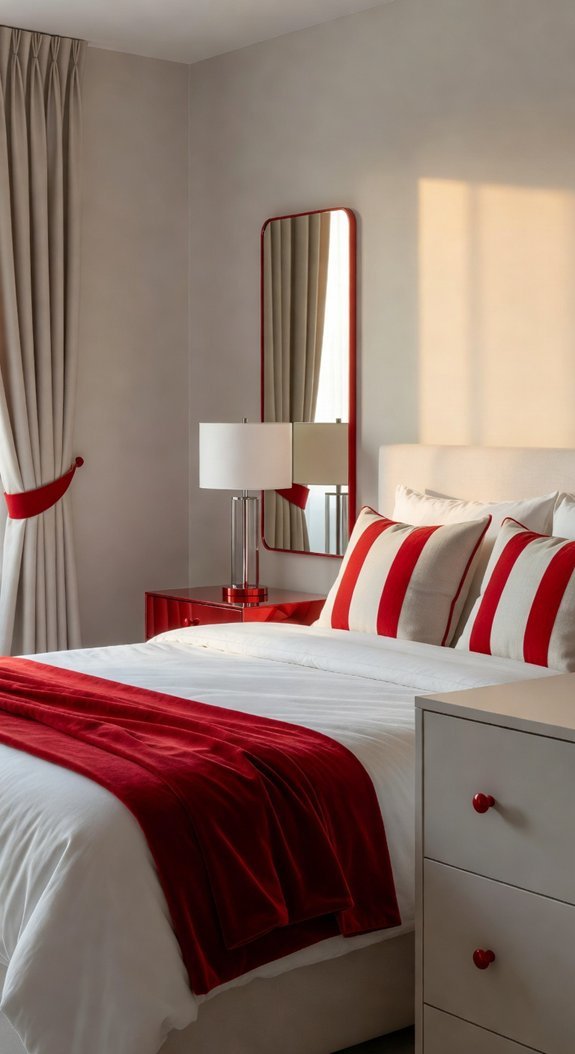
You’ve stared at your bedroom for months, wondering why it still feels like a hotel room you never checked into. The furniture’s fine, the paint color works, but something’s missing—that spark that makes space feel *yours*.
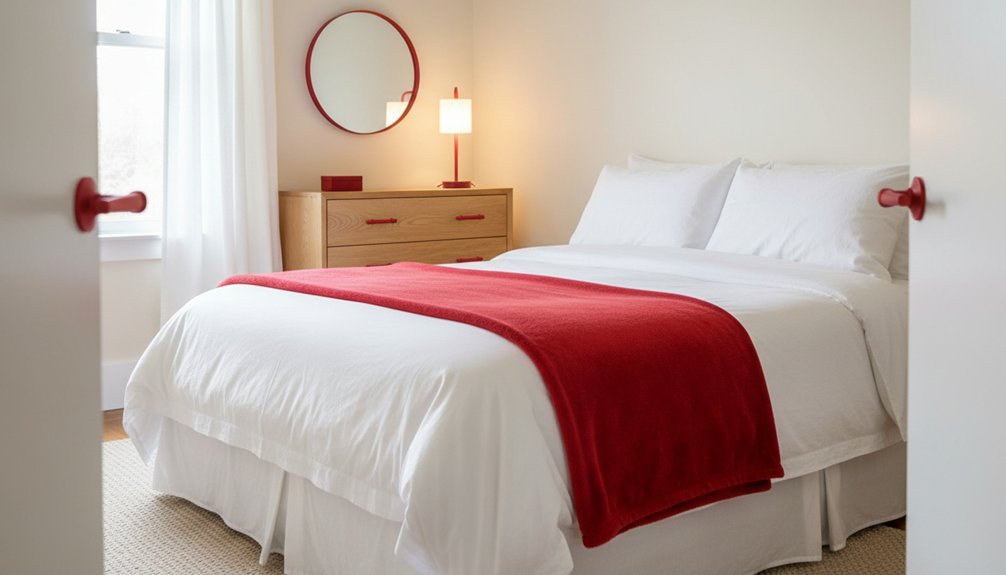
Enter red hardware. Not the obvious stuff like throw pillows you’ll swap next season. I’m talking drawer pulls, curtain rods, and subtle accents that quietly transform everything around them. It’s the design hack interior stylists whisper about because it looks expensive but absolutely isn’t.
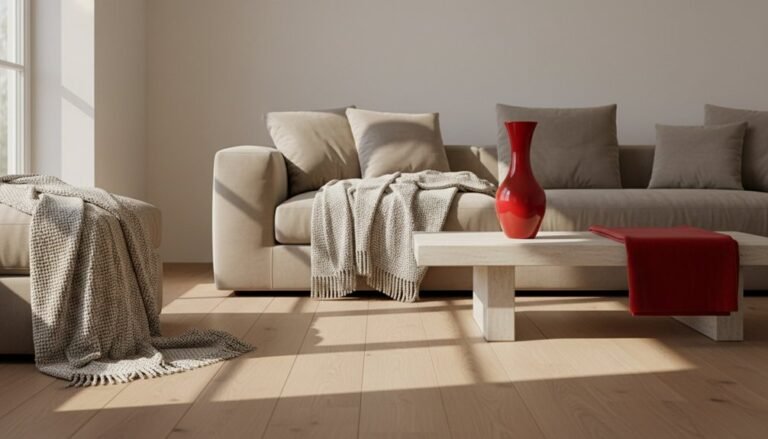
Unlike trendy décor that feels dated by spring, quality hardware ages beautifully. Think of it as jewelry for your room—small, permanent touches that pull the whole look together without a complete overhaul. When red is your dominant accent, balancing it with white, black, or warm neutrals on walls and furnishings keeps the look intentional rather than overwhelming.
Ready to see how strategic layering turns “fine” into “finally”? These ideas work whether you’re renting your first apartment or refreshing the primary suite you’ve had for years.
Clear Takeaways:
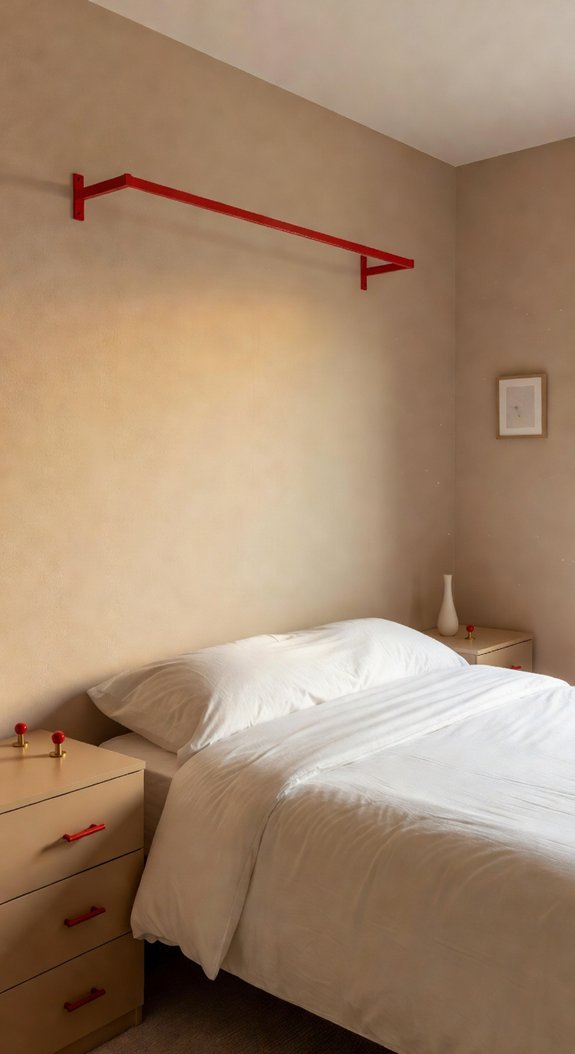
- Start with one high-impact piece, like a matte red curtain rod above your window
- Pair red hardware with neutral bedding so it pops without overwhelming
- Mix finishes intentionally—brushed crimson beside warm brass adds depth
- Repeat the red tone in at least two places to create visual flow
- Choose durable materials that won’t chip or fade with daily use
Find Quality Red Hardware on a Tight Budget
You’ve finally settled on that perfect warm white cabinet color. Then you rack your brain: what hardware won’t look like an afterthought? Red feels bold, maybe too bold. But here’s the secret—scarlet knobs and pulls can feel surprisingly grown-up when you shop smart.
The trick isn’t spending more. It’s knowing where treasure hides and how to transform what you already own. With a little creativity, that budget hardware becomes the detail guests actually notice. Before committing to any red hardware, consider building a red bedroom mood board with paint swatches, fabric samples, and furniture references to confirm your chosen tones work cohesively together.
Where to Score Red Hardware Without the Sticker Shock
- Thrift stores and estate sales – Vintage brass or ceramic pieces in cranberry and rust tones sell for pocket change, and they come with built-in character
- Online marketplaces – Facebook Marketplace, eBay, and Etsy sellers often offload hardware lots from renovation projects at steep discounts
- The paintbrush method – Transform existing knobs with high-quality enamel spray paint in colors like brick red or oxblood; seal with clear coat for durability
Ready to see how a single hardware swap can wake up an entire kitchen?
Avoid These 5 Red Hardware Installation Mistakes
There’s nothing worse than unboxing a set of stunning cherry-red cabinet pulls—only to drill crooked holes that stare back at you every morning. Red hardware makes a bold statement, but even small installation blunders turn that statement into an eyesore fast.
Stunning hardware deserves flawless installation—crooked holes turn bold statements into daily eyesores fast.
The good news? A little prep saves your walls *and* your sanity. Whether you’re refreshing kitchen cabinets or upgrading an IKEA dresser, these mistakes are totally avoidable. We’ve seen too many DIYers rush the process, then live with lopsome knobs for years. You deserve better.
Here’s how to get that crisp, boutique-designer look without the contractor price tag—and keep your hardware gleaming for the long haul. For maximum visual impact, consider pairing your red hardware against clay and rust tones that anchor the warmth of the finish without competing with it.
Ready to nail it on the first try?
—
What to Do Right Now
- Measure from the bottom up, not eyeballing – Use blue painter’s tape to mark exact placement before drilling; it peels off clean and prevents “oops” holes
- Buy the right screwdriver, seriously – A stripped screw in soft wood becomes a nightmare fast; match your driver to screw head type (Phillips vs. flat)
- Map your hardware like floor plans – Create a simple paper template for each door size so repeats stay identical
- Pilot holes are non-negotiable – They prevent splitting in solid wood and keep alignment honest in MDF or particle board
- Step away when frustrated – Forced installs damage both hardware finish *and* your mood