How an Amateur Designer Created a Stunning Blue Ombre Wall Treatment in Just 3 Days
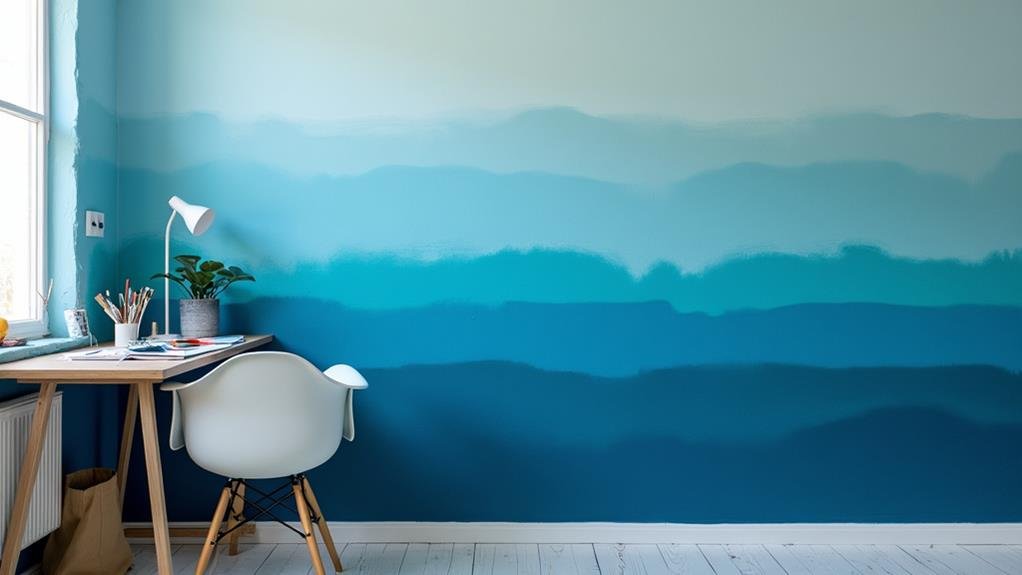
Transforming a boring wall into a stunning blue ombre wall masterpiece in just three days sounds like a pro’s job, right? Well, an amateur designer pulled it off, and you can too. They nailed it by carefully planning their colors and applying them with precision, creating a smooth blend that makes the whole room pop.
Want to know their secrets? It’s all about getting the details right. They followed specific steps to make sure everything came together perfectly.
So, how did they do it? What tricks can you use to get the same look? Let’s break it down:
- Choose your shades wisely
- Prep the wall properly
- Create a game plan for blending
- Use the right tools
- Take your time with the application
By following these steps, you can turn your own dull wall into a showstopper. It’s not just for the pros anymore!
Planning the Blue Ombre Wall Design
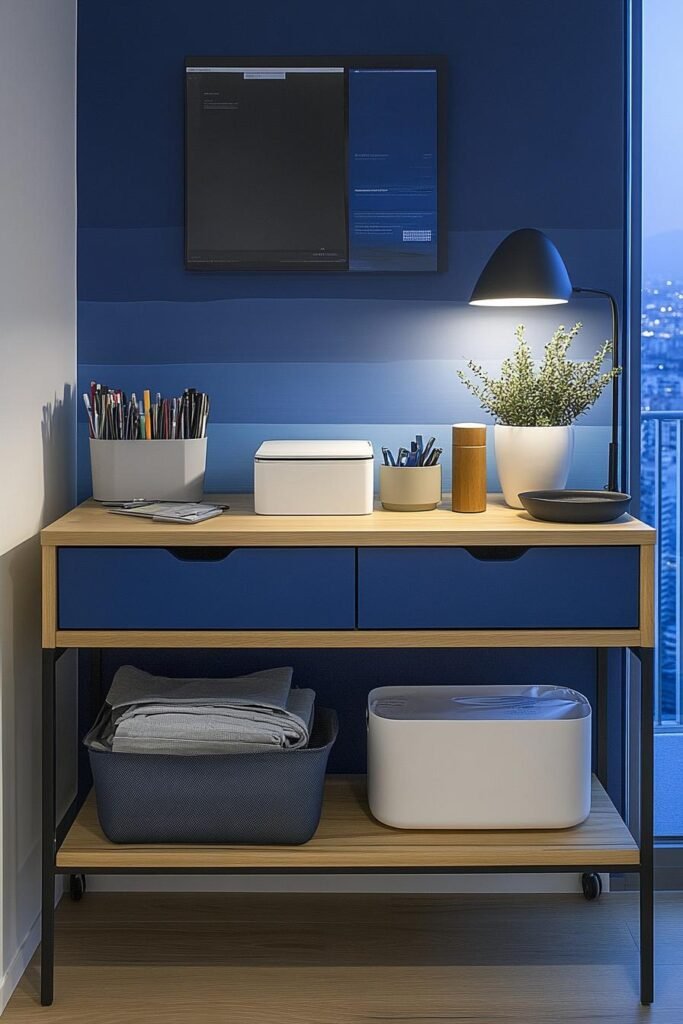
When planning your blue ombre wall design, you’ll want to think about how the colors will blend together. Start with a main color, like a deep blue, and then work your way to lighter shades.
Here’s what you should do:
- Color Palette: Pick 3-5 colors that look good together.
- Flow Direction: Figure out if you want the colors to fade up and down, side to side, or diagonally. This changes how it’ll look.
- Test Swatches: Paint small spots of your chosen colors on the wall to see how they mix in the room’s light.
- Balance: Make sure the lightest and darkest colors are spread out evenly so it looks good all over.
If you plan it out well, you’ll end up with a great-looking ombre wall that makes your room look awesome.
Step-by-Step Application Process
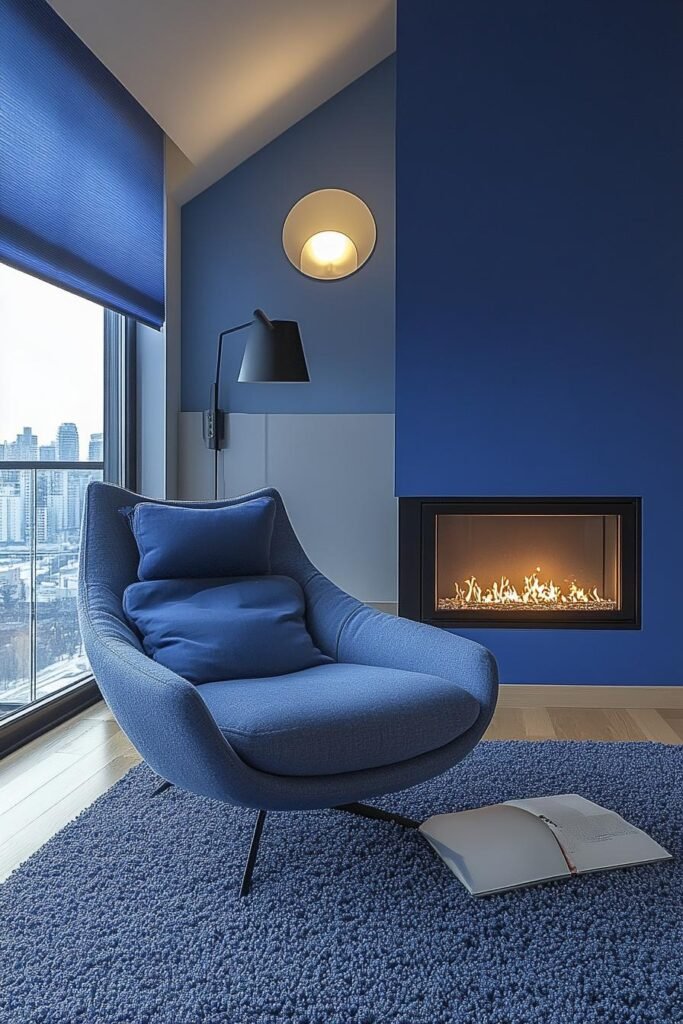
Want to create a blue ombre wall design? Here’s how to do it. First, get everything you need: blue paint in different shades, paint rollers, brushes, painter’s tape, and a drop cloth.
- Prepare the Space: To achieve the blue ombre wall, clear out the area and put a drop cloth on the floor.
- Tape Off Areas: Use painter’s tape to mark where you want the ombre effect. This helps keep your lines clean.
- Base Coat: Paint the whole area with the lightest blue. Let it dry completely.
- Mixing Shades: Blend your blues, going from light to dark.
- Apply Ombre Technique: Use a roller for big areas and a brush to blend edges. This creates a smooth blue ombre wall look.
Tips for a Successful Finish
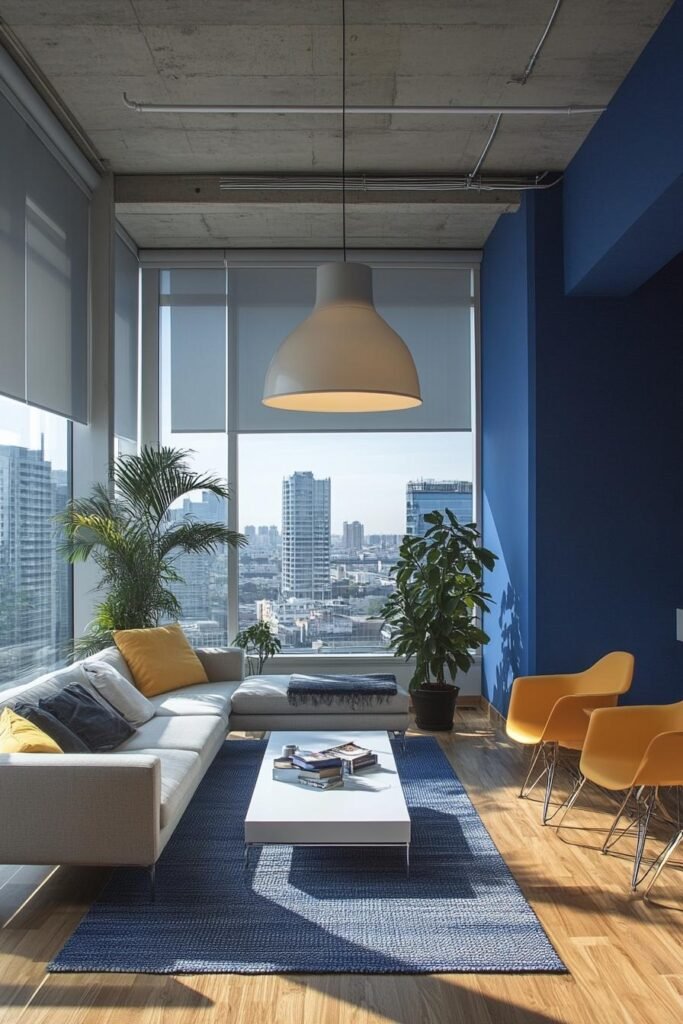
Achieving a perfect blue ombre wall finish isn’t easy, but it’s worth the effort. First things first, get your workspace ready. Cover up your furniture and floors so you don’t end up with paint where you don’t want it.
Select Your Colors Wisely
Pick colors that blend well together. It’s a good idea to test your choices on some poster board before you start painting. This way, you’ll see how they’ll look when you’re done.
Blend Techniques
Use a good brush or roller to apply the paint. When you’re blending colors, make sure they overlap a bit. This helps create a smooth transition.
Practice Patience
Take your time and work in sections. Let each part dry completely before you move on to the next. If you rush, the colors might mix in ways you don’t want.
Final Touches
After everything’s dry, take a close look. If you see any spots that aren’t quite right, touch them up. Follow these tips, and you’ll end up with a beautiful ombre finish that makes your space look amazing.
Conclusion
Let’s wrap this up. Creating a stunning blue ombre wall treatment isn’t as tough as you might think. Even if you’re not a pro, you can pull it off in just a few days. Here’s the key: stick to a plan and use the right techniques.
First things first, pick your colors wisely. The blue shades you choose will make or break the look. Then, it’s all about blending. Take your time with this step – it’s where the magic happens.
Don’t forget the basics, though. Tape off your edges and lay down a good base coat. These little details make a big difference in how professional your wall looks in the end.
Remember, practice makes perfect. You might not nail it on your first try but don’t give up. With a bit of patience and some elbow grease, you’ll be amazed at how you can transform your room with this eye-catching design.
